Computer Tips From A Computer Guy |
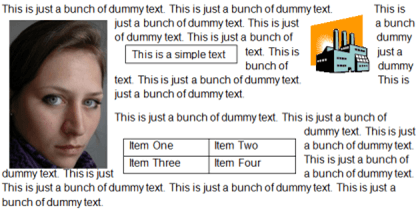
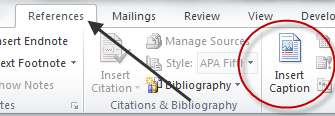
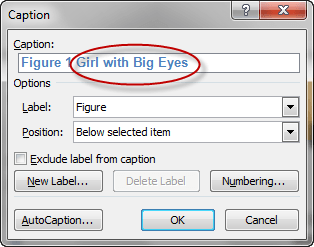
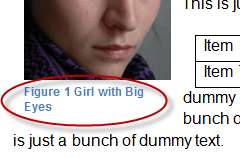
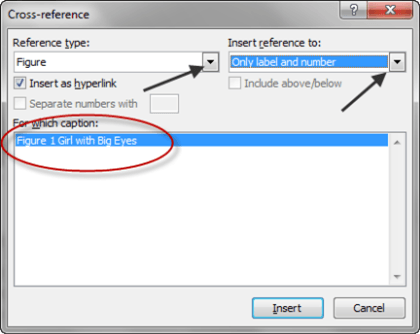
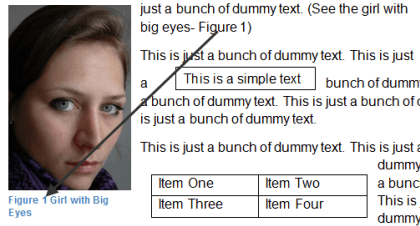
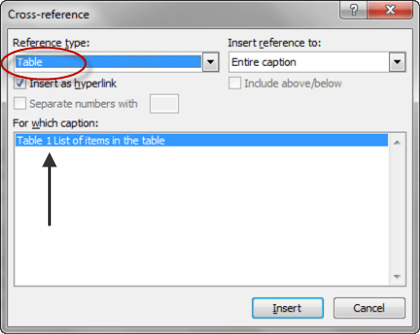
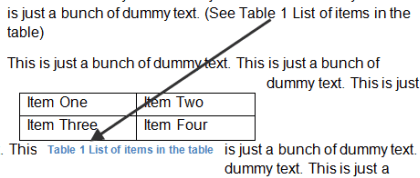
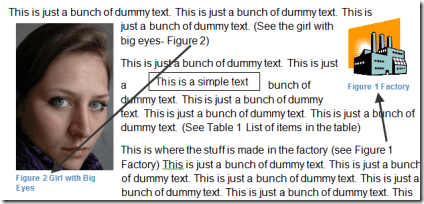
| How to Use Cross-Referencing in Word 2010 Posted: 02 May 2011 04:58 AM PDT One of the features of Word that is useful, but intimidating to some users, is cross-referencing; which is just a fancy way of saying connecting references to objects in your document. Some examples are referencing a picture or diagram, or perhaps a table; or in some cases, a simple bookmark. The good news is, Microsoft has been working for years to make this whole process easier. To see how cross referencing works in Word 2010, start with a dummy document that has pictures, diagrams or other objects embed in it already; like this: Next, in order to reference something, you have to give your embedded object some means of being identified; in Word, this is done by adding captions. To see how this is done, first click on one of your objects, then click the References tab on the main ribbon, then, click the icon that says Insert Caption: You should get this popup: Type in a description for whatever you are referencing then click OK to get back to your document, with your new caption showing: Now that you have an embedded object with a caption, it's time to add a reference to it; to do that, choose a reference point somewhere in your document to describe what you're about to reference, like this: Next, put your cursor at the place you want your reference to appear, then click the Insert tab, then click the Cross-reference Icon: You should get a popup like this: Here there are three things to do. The first is to choose your Reference type by clicking the down arrow and picking the one that suits your embedded object, in this case, we've inserted a figure, so we choose that. Next, choose what you want the reference to include when it shows in your document, here we've chosen to display just the label and number (Word keeps track of the label numbers for you automatically). Finally, choose the caption you wish to reference by clicking on it in the caption list; since we've only created one so far, we choose that one, then, when you click Insert, your reference will be inserted into your document. You won't be returned to your document to see it however, until you click the Close button. Then, you should get something that looks like this: You might want to put parentheses around it though, and maybe add a dash, to make things more clear: Other references can point to different types of objects, which means they can be numbered separately, tables for example are one type of object that can be numbered separately from other objects; all you have to do is add a table caption, then when you're selecting your Reference type, choose Table: Note how in this example, the table number is 1, instead of 2, which it would be if you'd defined it as a second captioned figure object in your document. You wind up with something like this: Note also how Word will automatically renumber your references depending on where they are placed in your document, if you add a caption/reference prior to one you've already created, the second one will be bumped to number 2; unfortunately, Word won't make the updates in your document until you manually tell it to do so by typing first Ctrl-A, to select all objects in your document, then pressing F9, to update them; that will get you something like this: Word has a lot of options for customizing your captions and cross-references, mostly to make cosmetic changes, to see what effect they will have on your document, it's best just to try them out with a test document to see for yourself. Post from: |
| You are subscribed to email updates from Online Tech Tips To stop receiving these emails, you may unsubscribe now. | Email delivery powered by Google |
| Google Inc., 20 West Kinzie, Chicago IL USA 60610 | |




0 commentaires:
Enregistrer un commentaire