Computer Tips From A Computer Guy |
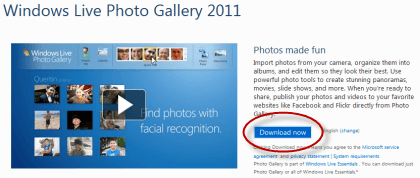
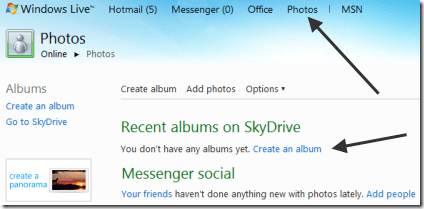
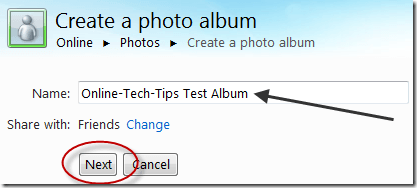
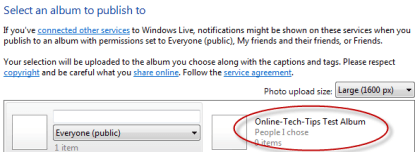
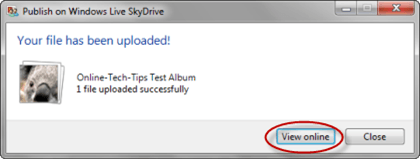
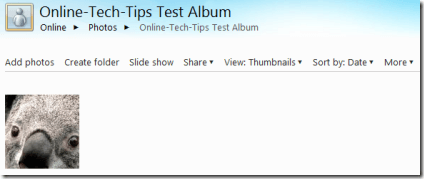
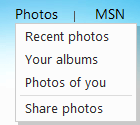
| Use Windows Live Photos with Windows Live Photo Gallery 2011 Posted: 28 Mar 2011 04:52 AM PDT Windows Live Photos is one of the options available to users when they long in to Windows Live, along with SkyDrive, Office, Messenger, Hotmail and MSN; it is in essence, a repository for photographs and images, and works very much like other photo hosting sites Windows Live Gallery 2011 on the other hand, is a free photo/video editing program with links to SkyDrive and other sites. To get it, go to Windows Live Photo Gallery 2011, and download it. Once you have it downloaded and running, you should notice the now familiar Microsoft ribbon that has been incorporated throughout Microsoft's suite of applications, it looks like this: If it looks familiar to you, that's because this is the program that is actually running on Microsoft's "cloud" television commercial. To use Windows Live Photos you first use Windows Live Gallery to import your pictures, change them, and then finally, to post them to Windows Live Photo. To see how this works, you can pull a photograph directly off of your camera, using the Import icon: … or by using the file menu to move to where you have photos already on your computer: Crop your photo, adjust it automatically, fix red eye or retouch, etc. it using the tools on the Edit tab on the main ribbon… …then log into your Windows Live account and click on the Photos tab: Click where is says Create an album, you should get this screen: Type in a name for your new album, then click the Next button. Note: You can change who is able to see your album by clicking on the Change option. The next screen allows you to add photos to your new album by dragging and dropping them from one of your local file folders, but we want to do it using Windows Live Photo Gallery, so click the Continue button to bypass dragging and dropping. Next, go back to Windows Live Photo Gallery and click on the Create tab, then click on the SkyDrive icon: Note: You can publish directly to Facebook, YouTube and other sites using this method as well. If you're not currently logged into your Windows Live account, you will be prompted to do so, then, you should be shown your currently existing albums on SkyDrive (Photos). In this case, we see the Online-Tech-Tips Test Album we just created: Double-clicking on it causes the file to be uploaded, and then this screen to appear: Then, clicking on View online, should take you to your new album on Windows Live Tools, with your picture in it: Once you've got some photos added to one or more albums, you can view them different ways using the menu that pops up when you hover over the tools menu choice: Windows Live Photo Gallery, combined with Windows Live Photos, together offer a unique and useful way to capture, manipulate, save and share your photos, images and even videos.
Related postsCopyright © 2007 Online Tech Tips. Aseem Kishore (digitalfingerprint: a59a56dce36427d83e23b501579944fcakmk1980 (74.125.94.88) ) Post from: |
| You are subscribed to email updates from Online Tech Tips To stop receiving these emails, you may unsubscribe now. | Email delivery powered by Google |
| Google Inc., 20 West Kinzie, Chicago IL USA 60610 | |






0 commentaires:
Enregistrer un commentaire