

Computer Tips From A Computer Guy |
| Best Ways to Quickly Hide Windows Applications Posted: 29 Jan 2015 01:43 AM PST You’ve probably run into the situation at home or at the office where you were doing something confidential on the computer and someone else came by right at that time. If you haven’t planned ahead of time, the only thing you could do is try to minimize the application, which is fairly slow and will give the other person enough time to see what you were doing. In this article, I’m going to show you a couple of methods for quickly hiding your applications and windows, some of which will be more obvious than others. Depending on who you are trying to hide the windows from (boss, kids, wife, etc), your optimal method may be different. CTRL + ALT + DEL
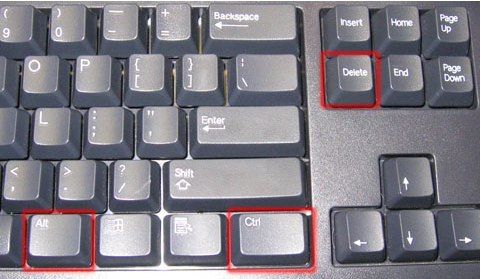
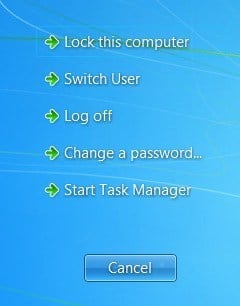
My favorite method by far is to simply press CTRL + ALT + DEL and then press Enter. By default the Lock Computer button is highlighted. Pressing the three keys will bring up a dialog with a few options like Lock this computer, Switch user, Log off etc. Pressing Enter will automatically select Lock this computer.
This is the best method to hide everything on your desktop. The only downsides are it’s not very subtle and you have to press the same key combo plus your password to unlock the computer. If you have a keyboard that has the Windows key on it, you can also press Windows Key + L. This is a much faster method to lock your PC than pressing CTRL + ALT + DEL and then pressing Enter. Windows Key + DIf you don’t want to have to enter your password again, you can try a different keyboard shortcut. No matter how many programs or windows you have open on your desktop, you can minimize all of them by pressing Windows Key + D. This will minimize everything that is open on the desktop. Of course, you have to have a Microsoft keyboard that has the actual Windows key on it.
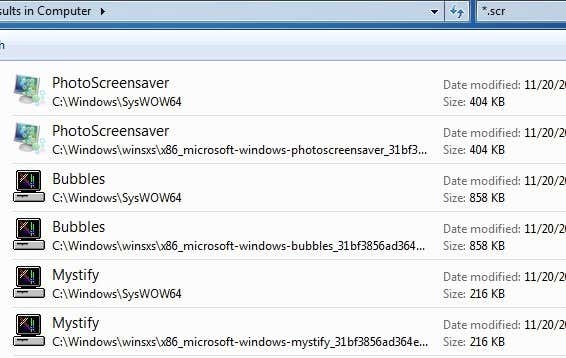
This key combo is very similar to the Show Desktop button that used to be on the taskbar in Windows XP. If you really liked that feature, you can enable the Show Desktop icon in Windows 7 too. I also tested adding the quick launch toolbar to Windows 8 and enabling the Show Desktop icon there too. Windows Key + D also works just fine on Windows 7 and Windows 8 without having to enable the Show Desktop icon. Screensaver ShortcutAnother nifty way to hide your desktop is to start up the screen saver. All screensavers are stored in Windows using the .SCR file extension. Go ahead and perform a Windows search for *.scr and you should get a list of all the screensavers on your computer.
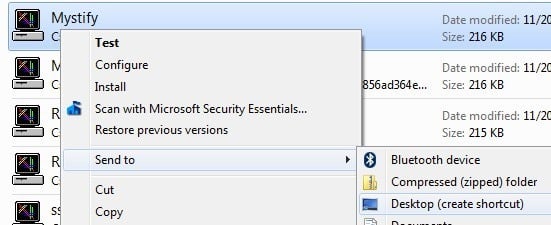
Now all you have to do is create a shortcut to any of these files on your desktop or quick launch bar. Just double-click on the shortcut and your screensaver starts up automatically, no need to wait for the idle time to kick in! You can create a shortcut to the .SCR file by right clicking on it, going to Send To and choosing Desktop (create shortcut).
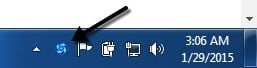
If that’s not fast enough for you or your hands tend to be on the keyboard more than the mouse, then you can also use a program called AutoHotKey to assign a hotkey to run the .SCR file whenever you want. There is a bit of a learning curve to using AutoHotKey, but it is quite powerful even if you use only a small fraction of its features. Third Party UtilitiesAll of the methods above require keyboard interaction, which is ok for laptop users, but may be slower for desktop users who have their hands on a mouse most of the time. There are some really good freeware utilities that will let you hide individual applications or all applications using hotkeys or mouse clicks. Windows Hide ToolWindows Hide Tool is probably my favorite little program for hiding Windows programs because it’s easy to use and works very effectively. The best part is that it removes the program icon from the Windows taskbar in addition to hiding it from your desktop. This will make it seem like the program wasn’t even running on your system. Once you install it on your system, a small blue icon will appear in your notification area. By default, clicking on the icon will hide the active window on your desktop. Clicking on the icon again will bring that application back.
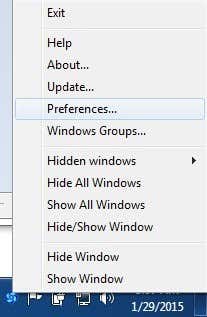
If you right-click on the icon, you’ll see a bunch of options like Hide All Windows, Show All Windows, Hidden Windows, etc. Those are all pretty obvious as to what action they will perform.
If you click on Preferences, you’ll be able to set up the hotkeys and change what happens when you either single-click or double-click on the icon in the notification area.
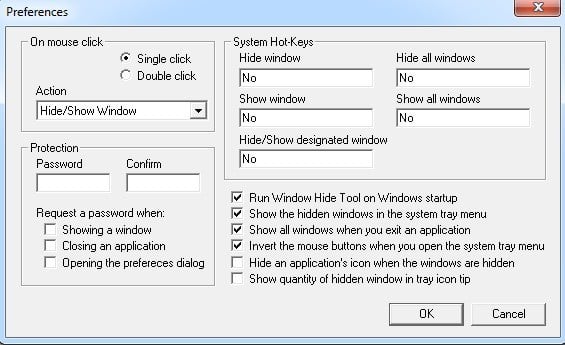
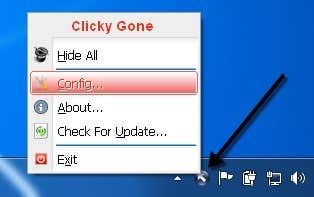
By default, single clicks will hide/show the currently active window. You can change this to multiple combinations or hiding/showing all windows. What’s also cool about the program is that you can set a password when showing a window, closing an application or when opening the preferences dialog for the program. So even if you leave your computer and someone tries to bring up the hidden program, they will have to type in a password in order to see it. There are no hotkeys set up initially, but you can quickly set them here by clicking in the box and then pressing the key combo you want. ClickyGoneClickyGone is another program that pretty much does the same thing, but with different options. Once you install it, an icon will appear in the notification area. Right-click on it and choose Config.
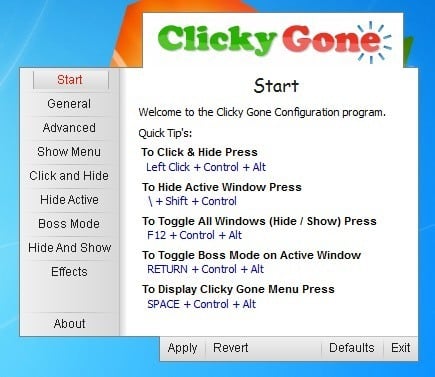
The Start screen tells you the current shortcuts for hiding windows in various ways. To click and hide, for example, you need to press and hold down CTRL + ALT and then click anywhere on a window. That program will disappear and can be bought back by using the Toggle All Windows keyboard shortcut, by right clicking on the icon in the system tray or by pressing the Clicky Gone Menu keyboard shortcut. It’s worth noting that the program lists out the shortcuts with the modifiers at the end rather than the beginning. For example, to hide the active window, press SHIFT + CTRL and then press \. The way it shows it in the program, you would think you need to press \ and then SHIFT + CTRL, but that won’t work.
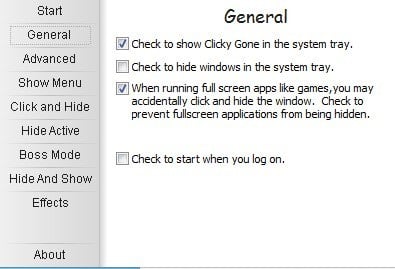
On the General tab, you can choose whether to show the icon in the system tray or not, whether to show hidden programs in the system tray and whether to prevent accidental clicks on full screen apps.
All of the screens after Advanced basically let you adjust the hotkeys for performing various tasks like hiding the active window, clicking to hide, showing the ClickyGone menu, etc. The only feature this program doesn’t have that I liked in Windows Hide Tool was the ability to set a password before bringing back hidden windows. Hopefully, these are enough tools and options for you to properly hide your data and applications from prying eyes. If you have any questions, feel free to comment. Enjoy! The post Best Ways to Quickly Hide Windows Applications appeared first on Online Tech Tips. |
| How to Burn Windows Movie Maker WMV Video to DVD Posted: 28 Jan 2015 10:13 PM PST By default, Windows ME, Windows XP and Windows Vista included Windows Movie Maker (WMM) for creating and editing home videos. With Windows 7, it became a separate product part of the Windows Live Essentials suite. The latest version was released in 2012 as Windows Movie Maker 2012 for Windows 7, 8 and 8.1. Depending on your version of Windows, you may or may not be able to burn a WMV file to a DVD from WMM. Windows Vista and Windows 7 both included a free program called Windows DVD Maker, which was sadly removed in Windows 8. Using Windows DVD Maker, you can burn a WMV file to DVD directly from Windows Movie Maker. If you’re running Windows 8 or Windows XP, you’ll need to use a different set of tools to burn the WMV file as a playable DVD. In this article, I’ll talk about a program called DVD Flick. It’s a free DVD authoring tool that will let you take videos of pretty much any format and burn them on a DVD with minimal effort. Burn WMV using Windows DVD MakerThe easiest way to get the job done is to use Windows DVD Maker if you are running Windows Vista or Windows 7. There are actually two ways you can go about doing this. If you haven’t started editing your videos together, then you can use Windows Movie Maker to create and edit the movie. Once you have completed all the editing, you simply click on the Save movie button and you’ll see an option there called Burn a DVD.
You won’t see this option on Windows 8 or Windows XP, as it doesn’t have the Windows DVD Maker software installed. If you already have a WMV file and you just want to burn it to a playable DVD, then you can open Windows DVD Maker directly.
You’ll see a welcome screen where you can click on Choose photos and videos and then you simply click on Add items to add the movie files to your DVD. At the bottom, it will tell you the amount of time left on the DVD and you can also change the DVD title. You can also click on Options and change the video format, playback settings, aspect ratio, and burner speed.
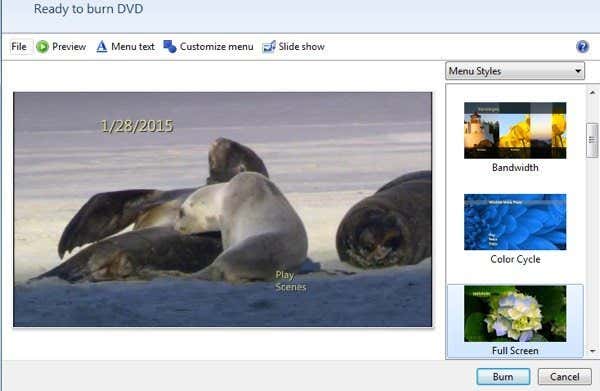
Click Next and choose a menu style for your DVD. You can customize the menu and change the menu text also. You can also click the Preview button to see what the menu will look like before you burn the DVD.
That’s about it. Now just click Burn and you’re good to go. Burning a WMV file is super easy when using WMM and Windows DVD Maker together. Now’s let’s talk about the other scenario. Burn WMV using DVD FlickDVD Flick is an awesome little utility for creating playable DVDs for just about any kind of video file. It’s super easy to use and doesn’t contain any malware, spyware or junkware. Once you download it and install it, the main screen will pop up and you’ll be asked if you want to check out the guide before getting started. It’s a good idea to just read over the guide once before you begin.
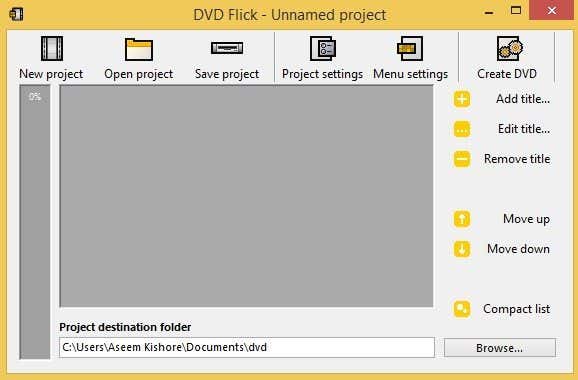
By default, the program starts off with a new unnamed project that is stored in your Documents folder. To get started, you have to click Add title. The naming is a bit confusing, as most people tend to think titles in videos are sections at the very beginning and end of a movie, but here it is any video file you want to add to your project. Once you add videos, they will show up in the main area and the little progress bar on the far left will show you how much space you have left on the DVD. Once you have added all the videos, go ahead and click on Project settings.
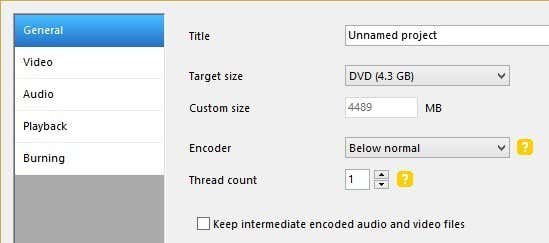
On the General tab, you basically want to give your project a title and also choose the appropriate target size. By default, it’s the standard one-sided 4.3GB size. You can leave the rest alone.
On the Video tab, you want to choose your target format (NTSC or PAL) and the type of encoding. I would leave everything else alone here except for the format option.
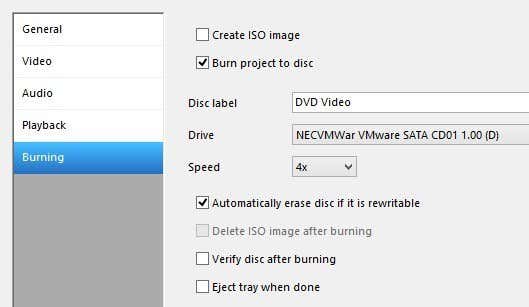
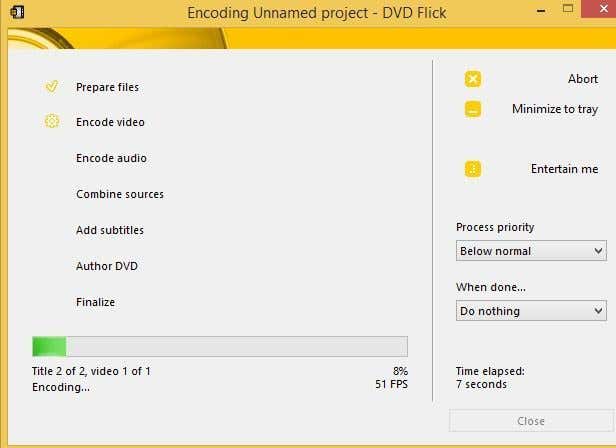
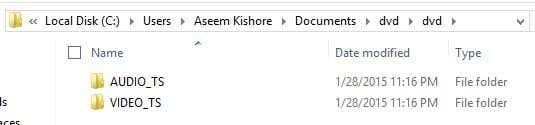
Finally, on the Burning tab, you need to check the Burn project to disc box, give your DVD a label and choose the DVD drive. You can also verify and eject the disk after burning. If you don’t check the burn to disc box, the program will only create the AUDIO_TS and VIDEO_TS folders on the hard drive and not burn them to disc. On the main screen, go ahead and click on Create DVD to start the DVD authoring process. You’ll get a popup dialog with the progress of encoding video, encoding audio, adding subtitles, etc.
Once it has completed, it should begin the burn process automatically, so make sure you have a DVD already in the drive. You can also navigate to the project folder and you should see the above-mentioned folder created for your DVD.
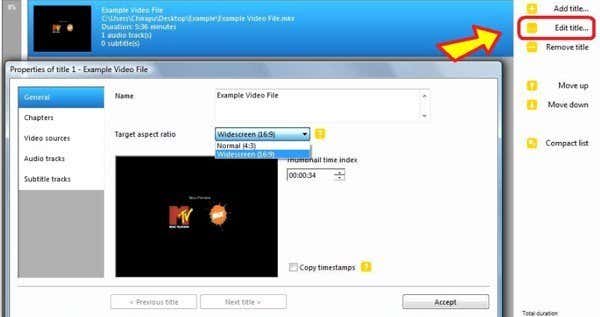
You can also save the project if you want to burn it again or edit it later. The program has a lot of other features that I won’t go into great detail about, but will just mention. The website also has a great guide that covers everything. When you add a video, you can click Edit title to add extra audio, create chapters, add subtitles, change the thumbnail image, join video files, etc.
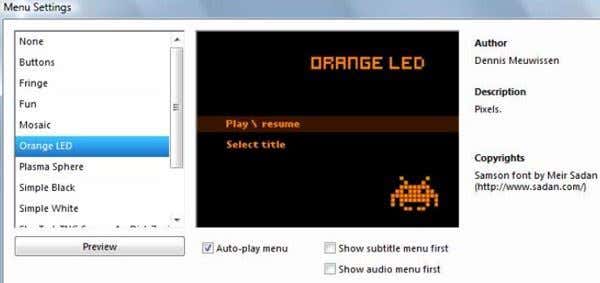
Lastly, click on Menu Settings to customize the DVD menu that will appear when the DVD starts up for the first time.
You should now have all the tools you need to easily create a DVD from your WMV video files or from any video file for that matter. If you have any questions, feel free to comment. Enjoy! The post How to Burn Windows Movie Maker WMV Video to DVD appeared first on Online Tech Tips. |


| You are subscribed to email updates from Online Tech Tips To stop receiving these emails, you may unsubscribe now. | Email delivery powered by Google |
| Google Inc., 1600 Amphitheatre Parkway, Mountain View, CA 94043, United States | |
0 commentaires:
Enregistrer un commentaire