

Computer Tips From A Computer Guy |

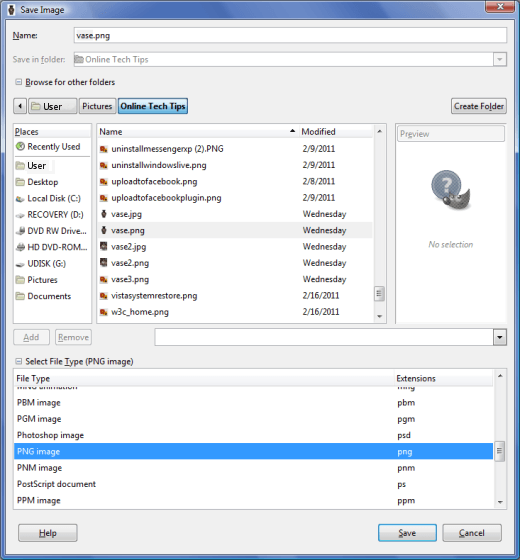
| Save Images with Transparency in GIMP Posted: 03 Apr 2011 04:13 AM PDT GIMP is one of the best programs for creating a transparent background behind an image. This free, open source image processing software program has advanced and sophisticated tools to both create your transparency and to create complex semi-transparent effects within the transparency. Open GIMP, then select the image in which you’d like to create a transparent background. The subject of the image should be in sharp, clear focus and should have a very definite outer edge. If your picture was created in a different image file format, save the file in PNG format. To do this, click File, Save As, then click Select File Type (By Extension.) Scroll down to PNG image, then click Save twice.
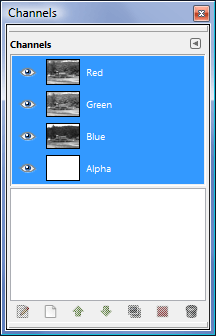
Click Windows, Dockable Dialogs and Channels. Check to see if there is a channel entry for Alpha. If there is none, click Layer, Transparency and Add Alpha Channel.
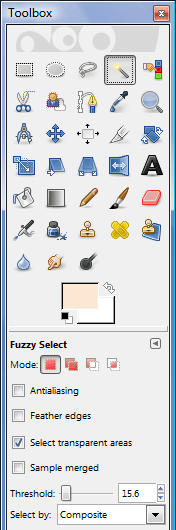
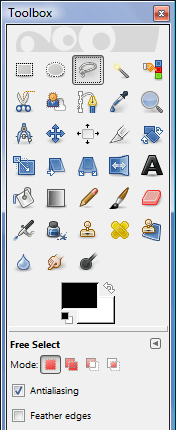
If your image has a simple, single color background, click the Fuzzy Select Tool. Make sure that Antialiasing, Feather Edges and Sample merged are deselected. Adjust the Threshold to a low value between 0 and 40. In the drop-down menu by Select by, choose Composite.
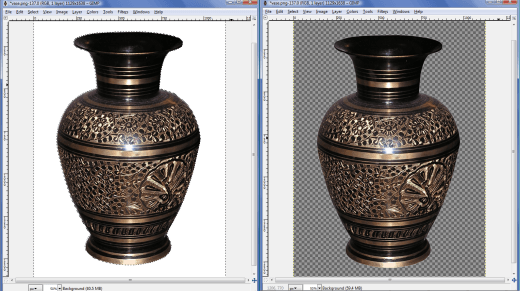
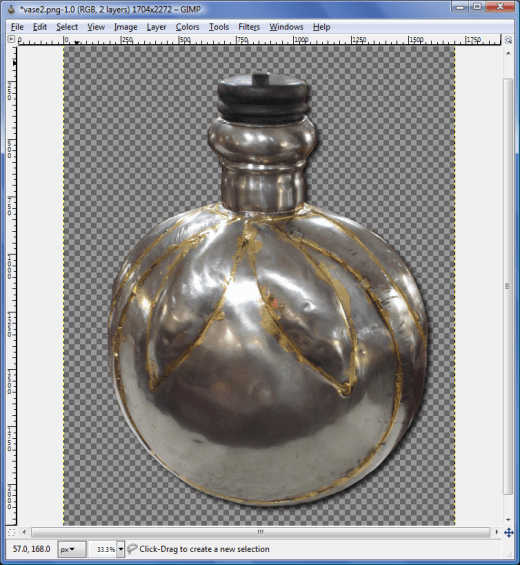
Select the background behind the subject in your picture. Adjust the Threshold and Select by values as necessary until the selection area is as close to the subject as possible. Click Select and Invert. Press the Delete key to remove the background from your picture. You should now see a grey checkered background behind your picture. Save your image with a new file name.
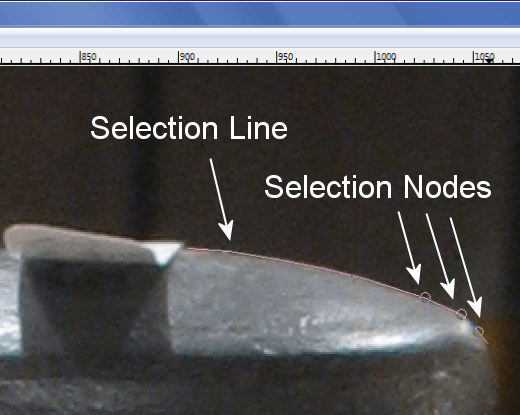
If your picture has a complex background, select the Zoom tool, then select Zoom in. Expand the window around the image to the largest size possible. Select the Free Select Tool, then begin to select points around the subject of the picture.
Continue selecting points, adjusting the scroll bars as necessary, until you have selected the entire outer edge of the subject of your picture. Click on the first node in the picture to complete the selection. If you have over-selected, press control while clicking to reduce the selection area. If you have under-selected anywhere within the image, press shift and click to add to the selection.
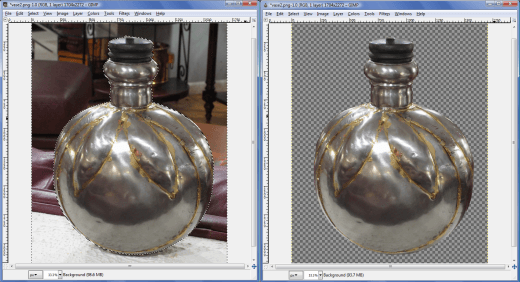
Click Select and Invert. Press the Delete key to remove the background from your image, leaving a transparency behind the main subject.
You can now place any background you like behind your image. For example, you can create a simple drop-shadow behind your image. Make sure that your selection around the image is still intact. If the transparency is selected, click Select and Invert. Click Filters, Light and Shadow and Drop Shadow. Select the offsets for Y and X, the blur radius, the color of the shadow and the opacity, deselect Allow Resizing, then click OK. Save your image with a new file name. If GIMP prompts you, click Export to save your picture.
To learn more, read How to Resize Images using GIMP.
Related postsCopyright © 2007 Online Tech Tips. Aseem Kishore (digitalfingerprint: a59a56dce36427d83e23b501579944fcakmk1980 (74.125.94.90) ) Post from:
|
| You are subscribed to email updates from Online Tech Tips To stop receiving these emails, you may unsubscribe now. | Email delivery powered by Google |
| Google Inc., 20 West Kinzie, Chicago IL USA 60610 | |
0 commentaires:
Enregistrer un commentaire