

Computer Tips From A Computer Guy |

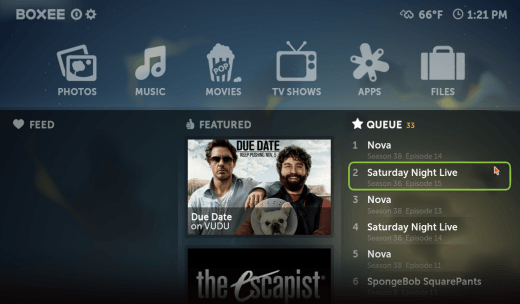
| Watch TV and Movies with Free Boxee Software Posted: 12 Apr 2011 04:38 AM PDT Boxee software, developed by the same people who created the Boxee Box, is one of the best programs to stream free movies and TV on your computer. This free software only requires a 1 GHz processor, 512 MB of RAM and a graphics processor that supports OpenGL, DirectX 9 and 32 bit color. It will run under Windows XP, Vista or 7, Mac OS X 10.4 and above and Ubuntu Linux. Using Boxee, you can turn your laptop or desktop computer into a set top box that will stream online movies, TV and videos from many different providers. You can also watch TV and movies stored on your hard drive using Boxee. You can watch your favorite content from the major free TV networks, cable and satellite TV networks and paid services like Netflix and VUDU. You can even use a PC remote control with Boxee.
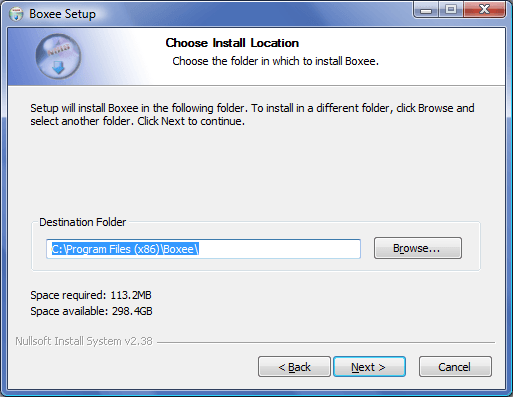
Installing BoxeeTo use Boxee software, you will need a free Boxee account. You can go to the Boxee website to sign up and download the software installation file. To install Boxee on a Windows or Mac computer, close all open programs, run the setup file and follow the on screen instructions. To install Boxee on Linux, download and install the deb file. You must confirm your email address before using your Boxee software.
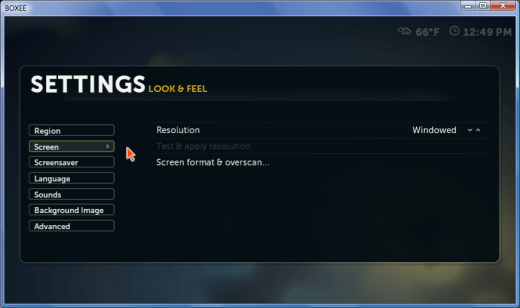
Boxee SettingsStart Boxee and log into your account. When prompted to set screen calibration, click OK. You can set the screen calibration again at any time. To do this, click the Settings gear in the upper left hand corner of the Home screen, then click Look and Feel and Screen.
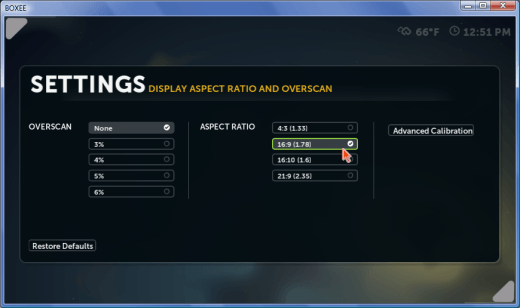
If you’ll be using Boxee while you run other programs, set it to run windowed. If want to watch movies and TV only, set it to full screen mode. In Screen Format and Overscan settings, choose a 4:3 aspect ratio for a CRT television or CRT or standard LCD computer monitor. Select a 16:9 aspect ratio for a widescreen LCD monitor or HDTV. Under Overscan, select None.
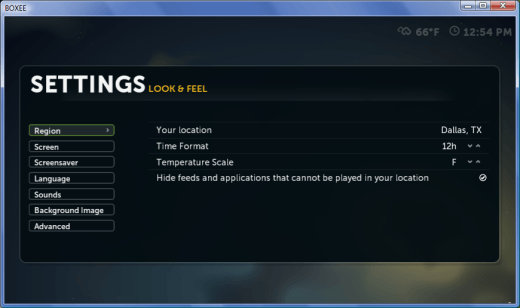
Return to Look and Feel in Settings and select Region. Select your location, time format and temperature scale. Choose whether you want to hide feeds and applications that aren’t available in your area.
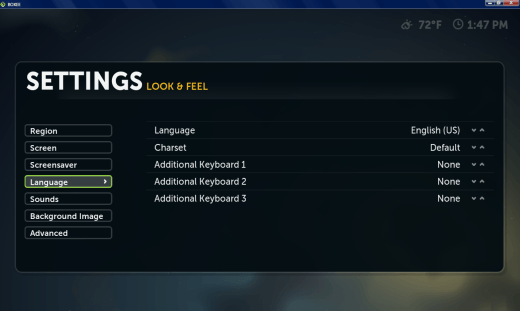
If English isn’t your language, select Language to select the correct language. If you like, you can also choose an alternative character set and up to 3 additional keyboards.
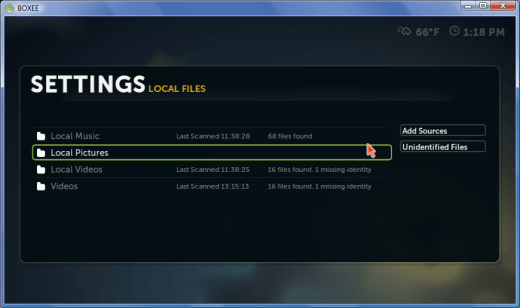
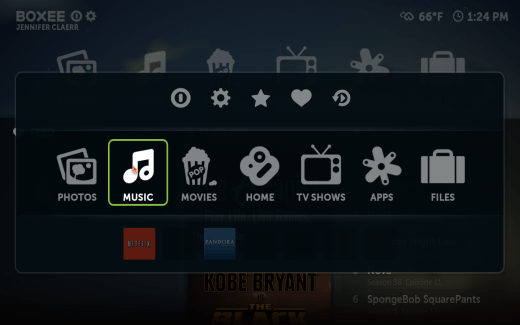
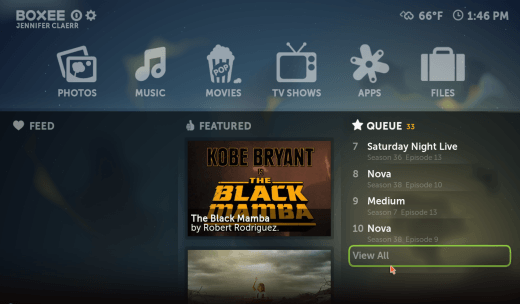
NavigationRight-clicking on the screen will take you back to the previous screen or open the pop-up menu window. In the Home screen, you can click links to view your local pictures, listen to music, watch movies or TV shows, install apps and browse local files. You can also click Home again to return to the Home screen.
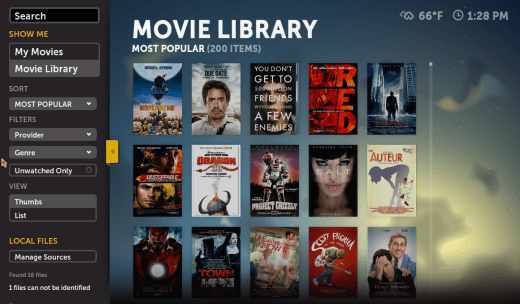
Setting Up Movies and TVBoxee allows you to add online TV shows to your own library and add both movies and TV episodes to your queue. To get started, click on Movie, then click Movie Library. Filter the movies by provider, genre and watched status to find movies to watch. Click on a movie from the gallery to select it. Click on the icons provided to get more info, add the movie to your queue, mark it as watched, add a shortcut or share it online. Clicking on My Movies will show the movies you have downloaded to your hard drive.
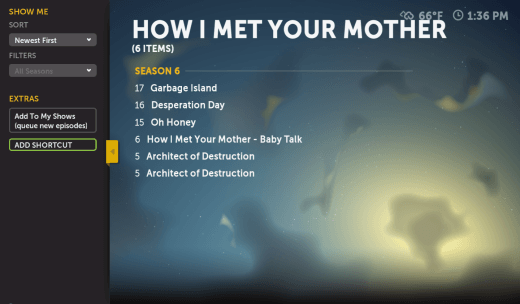
Click on TV shows to select your favorite TV series. Click TV Show Library to see a list of popular shows. Click on a series icon in the gallery to see a list of episodes. Click Add To My Shows to add the TV series to your TV show library and to queue all new episodes automatically.
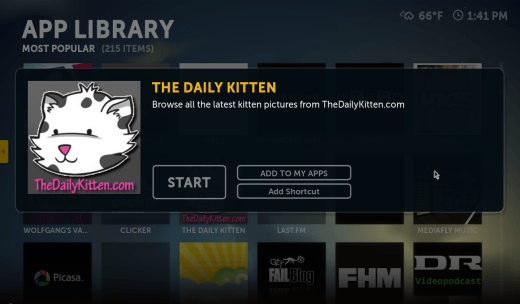
Adding AppsIn the Home screen, click on Apps, then click App Library. Select an app thumbnail to install it. The most popular apps include Netflix, Pandora Radio, YouTube, VUDU movie rentals, Vevo music videos and the Boxee web browser. Select Add to My Apps to place the app in your App Library. Click Add Shortcut to place a shortcut icon in the Boxee pop-up menu. You can also start the app from this screen.
Browsing Your QueueYour queue will always appear on the Home screen in Boxee. To access your full queue, scroll down to the bottom and click View All.
If you want to watch Boxee on a TV, read How to connect your Laptop/PC/Computer to your TV.
Related postsCopyright © 2007 Online Tech Tips. Aseem Kishore (digitalfingerprint: a59a56dce36427d83e23b501579944fcakmk1980 (209.85.224.82) ) Post from:
|
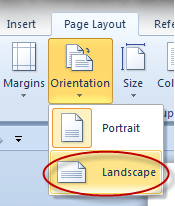
| How to Make a Greeting Card with MS Word 2007/2010 the Easy Way Posted: 11 Apr 2011 05:26 AM PDT Quite often the most meaningful greeting cards are those that are handmade, and while those that are made with crayons and glue are fine for when we're younger, a much more professional look can be achieved by using Microsoft Word. To make a card that will fold naturally in the middle, which will mean having a front, middle material and back, you first need to click on the Page Layout tab on the main ribbon. Click on Orientation, and choose Landscape, so that the card can be folded sideways.
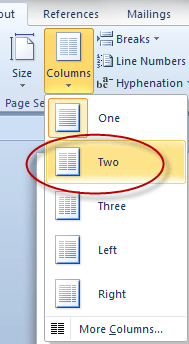
Next, click on Columns, then choose Two
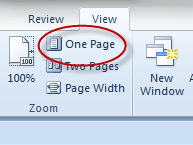
After that, click on the View tab on the main ribbon, then select One Page so that you can see how the whole front and back of the card is looking at the same time.
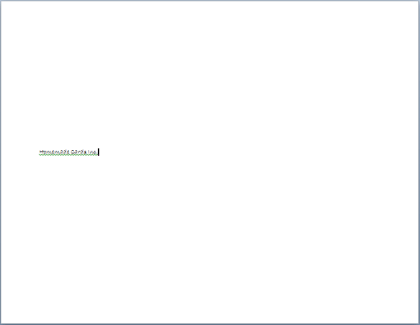
Press the Enter key several times, till you get to somewhere near the center of the page (this will be the back of the card) then type something, like "Homemade Cards Inc." Pick a cute font for your words and that should do it for the back. At this point your card should look something like this:
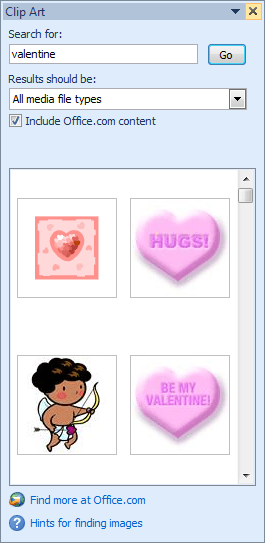
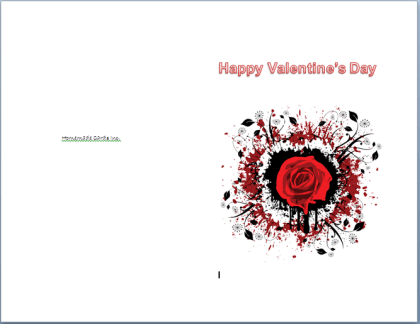
Press the Enter key a bunch of times again, until the cursor appears at the top of the right hand side of the page. This will be the front of the card. Type an appropriate greeting, such as Happy Valentine's Day, etc. Then press the Enter key a couple of times to create some spaces; after that, click on the Insert tab on the main ribbon, then choose Clip Art.
The Clip Art search facility should pop up on the right side of your screen. Note: You need to be online for the Clip Art search feature to work.
You can type whatever you like in the search box to find an appropriate image to embed in your card. When you find one you like, just double-click on it. Note: You can also drag your image and drop it into your document. At this point, your card should look something like this:
Next, press the Enter key until you run out of page and a new one is started. The second page is the inside of the card. The left side will be the inside left side of the card, and the right side of the page the inside right side of the card. You can put anything you want on either side, using text and/or graphics to convey what you'd like the recipient to know. Note: To make graphics easier to put where you want them, click on them with your right mouse button, click on Wrap Text, then choose Tight on the drop down menu. When you get done, it should look something like this:
Try clicking on the View tab on the main ribbon, and clicking Two Pages to give yourself a better feel for how the whole card will look when finished. It should look something like this:
The left side is the front and back, the right side is the left and right inside of the card. Once you get your card to look the way you want, print it on some heavy card-stock printer paper; it's generally sold in a variety of colors, which is usually nicer looking than plain white. To print your card, empty out the paper tray, then put in just one piece of your good paper. Print out the first page, then put the same piece of paper back in the input tray and run it through again so that it prints on the other side of the card. Finish by folding the card in half.
Related postsCopyright © 2007 Online Tech Tips. Aseem Kishore (digitalfingerprint: a59a56dce36427d83e23b501579944fcakmk1980 (209.85.224.82) ) Post from:
|


| You are subscribed to email updates from Online Tech Tips To stop receiving these emails, you may unsubscribe now. | Email delivery powered by Google |
| Google Inc., 20 West Kinzie, Chicago IL USA 60610 | |
0 commentaires:
Enregistrer un commentaire