

Computer Tips From A Computer Guy |

| How to Use the New Advanced Search Features in Windows 7 Posted: 11 Apr 2011 04:22 AM PDT With every new release of Windows, Microsoft has upgraded the search facility to allow users ever better ways to find the myriad of files, folders, images, videos and even e-mail on their computers. Windows 7 is no exception, though its advanced features are not very well known since Microsoft chose to hide them on the results page. In any event, the first step in finding something on your computer, is to click on the Start menu, and then type in something you'd like to find:
Notice that as with Vista, you don't have to type the Enter key, as Windows displays results based on each key you type. The results of your initial search, though likely very helpful, don't give you the full power of the search facility; to get that you need to click just above the search box, on See more results: Doing so brings up the results page (which is actually nothing more than a search version of Windows Explorer File Manager). On this screen, there are several things to notice; at the top, there is a menu option that allows you to save your search for future reference:
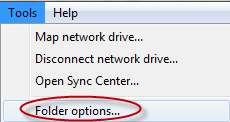
Just above the Save search option, under Tools, is Folder options…
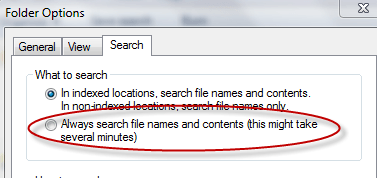
Clicking on it brings up a popup window that allows you to modify the way your files and folders are presented; but one little gem among them is under the Search tab:
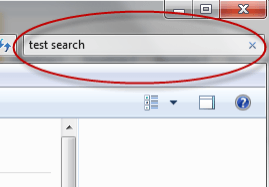
Which of course allows you to search the contents of every file on your hard drive for a certain string of text. At the top right corner of the results page is another little search box; this one allows you to change the text you've typed:
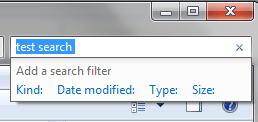
It also allows you to further narrow down your search by Kind, Date modified, Type and Size.
Kind refers to the kind of document you are after,e.g. document, e-mail, folder, etc. Type refers to which kind of file extension it has,e.g. .doc, .jpg, etc. And at the very bottom of the results page, after scrolling all the way down, there is this little menu:
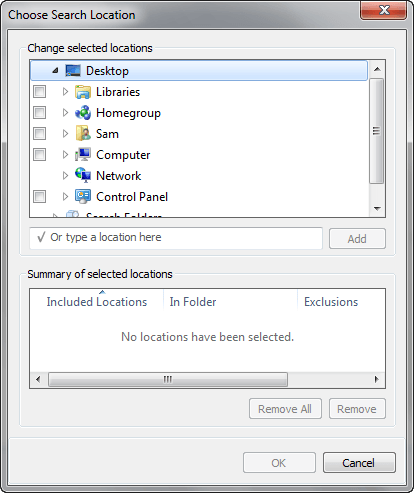
These icons allow you to search, respectively, your individual libraries, your home group, and your whole computer. And of course it allows you to perform a custom search, or to search the Internet using your default browser. The reason Microsoft has chosen to give you so many options, is because Windows doesn't always search everything during its default search; it only searches items it has indexed, which generally means, files that are in your local libraries. The other options are there because sometimes a search returns too many hits, so the option to search in a more locally defined way can reduce the clutter dramatically. This is the case with the Libraries menu choice; clicking on it causes Search to look only in your local libraries. Similarly, clicking on Homegroup, causes Search to look only at stuff that is shared by others in your home group. Clicking on Computer, on the other hand, widens your search options by forcing Search to look at every single thing on your computer; be forewarned, it can take awhile. Choosing Custom brings up following pop-up:
Double-clicking on files or folders causes them to be added to the bottom window, which allows you to search just those files or folders. And of course, clicking on Internet, causes your default web browser to launch with your default search engine with a predefined search using your text. In summation, Microsoft has give users far more search options than ever before, though you might have to work at it to figure out how to get those results.
Related postsCopyright © 2007 Online Tech Tips. Aseem Kishore (digitalfingerprint: a59a56dce36427d83e23b501579944fcakmk1980 (74.125.94.89) ) Post from:
|


| You are subscribed to email updates from Online Tech Tips To stop receiving these emails, you may unsubscribe now. | Email delivery powered by Google |
| Google Inc., 20 West Kinzie, Chicago IL USA 60610 | |
0 commentaires:
Enregistrer un commentaire