

Computer Tips From A Computer Guy |

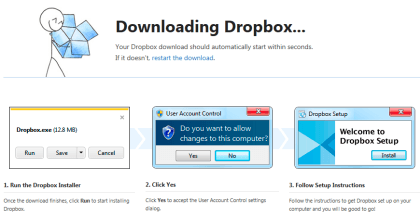
| Posted: 14 Apr 2011 04:20 AM PDT Dropbox is a free (for up to 2 GB of data) application that creates what looks like a virtual folder on your computer, but is in reality a web storage facility. Once installed it looks like any other folder on your computer and can be used the same way. In addition, it can be used as a virtual folder on more than one computer, thus allowing users to store files for use no matter where they are (and qualifies it as a "cloud" app). To get Dropbox, go to the Dropbox site and first watch their video that explains how it works, then click the Download button at the bottom of the page.
Follow the directions to download and install the application; the only information you'll have to provide is a valid email address; once it finishes installing you'll find what looks like a new folder on your computer: Note: The Dropbox installation will record you computer's name so that it will know which computer you are using when you access the virtual Dropbox folder.
To use the new "folder" access it using Windows Explorer, or any other file manager that you currently have, such as the one that comes with Word or other Office applications:
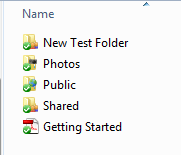
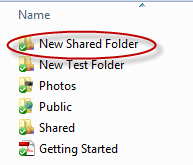
Clicking on the new folder, gives you this:
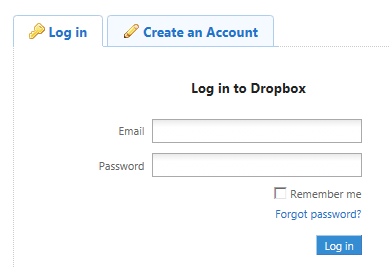
These are all files and folders that are created for you by Dropbox when it's first installed. In short, you save and retrieve files from the Dropbox folder in exactly the same way you would for any other folder on your computer. To set up Dropbox on another computer, once again go to the Dropbox site, but this time during the installation when it asks you if you've already got an account with them, say yes, and give your same email address. Doing so will allow you to access the same "virtual" drive/folder from the other computer in exactly the same way as you would a regular folder on that computer. Dropbox also allows you to share files or folders with other Dropbox users, using the same virtual folder you started with, but to make that happen, you need to first log into Dropbox using the e-mail address and password you gave when downloading and installing Dropbox.
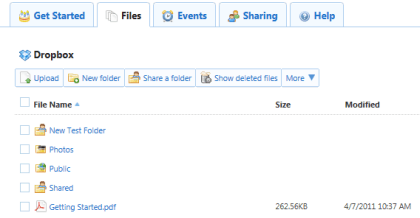
Once you do that, you'll get a screen like this:
Here you can create new folders inside of your Dropbox folder (you can do likewise using your local file manager program), upload files, share a folder, and see the history of your files in your Dropbox folder. To share a folder, click Share a folder:
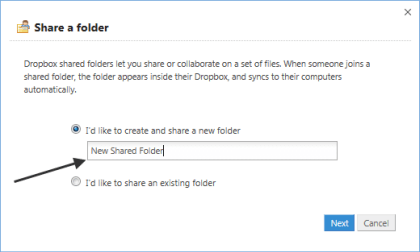
Then choose whether you'd like to create a new folder to share, of if you'd like to share one of the ones (inside of your Dropbox folder) that you already have. In this case, we are choosing to create a new folder for sharing called "New Shared Folder":
After typing in the name, click the Next button to get this screen:
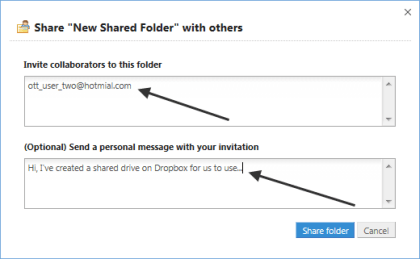
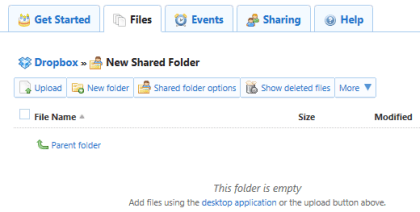
The top box is for typing in an address for another Dropbox user; the bottom box is for sending that user a message letting them know you've shared a folder with them. After filling in the boxes, click the Share Folder button to make it happen. Once you do that you'll be taken to your new (empty) folder:
Now, whenever you save a file in this shared folder, both you and those you've invited to share with will be able to see what's in it and that other person can do likewise.
Dropbox is a well known and established web cloud application and has been praised by many in the press for it's simplistic, easy to use design, and has become a favorite of users in a very short time. It currently has over 4 million users and is growing rapidly.
Related postsCopyright © 2007 Online Tech Tips. Aseem Kishore (digitalfingerprint: a59a56dce36427d83e23b501579944fcakmk1980 (74.125.94.91) ) Post from:
|
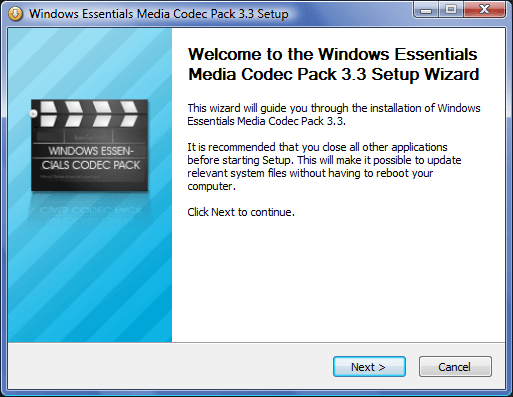
| Play More Audio and Video Files with Windows Essentials Media Codec Pack Posted: 13 Apr 2011 05:41 AM PDT If you’re fond of playing a wide variety of audio and video files on your Windows computer, you’ve probably found several file formats that just won’t play. This happens because Windows lacks the codecs necessary to play many audio and video files. The Windows Essentials Media Codec Pack is a free, open source software download that can solve this problem. It supports almost every audio and video file type imaginable. It can play files directly off CDs and DVDs. If you installed a DVD player on a computer that didn’t come with one, the Windows Essentials Media Codec Pack can get your DVDs playing. It also plays files like MP4, MPEG-1, MPEG-2, DivX, XviD, Vorbis, AVI and more. It uses open source decoding and encoding filters like DirectShow to play a wider range of audio and video file formats. It even comes with its own media player, Media Player Classic, that can play the files in full screen mode. To install and run the Windows Essentials Media Codec Pack you need a Pentium Pro or AMD Athlon or higher processor. Preferably, it should be Streaming SIMD Extensions (SSE) capable. The Windows Essentials Media Codec Pack requires Windows 2000, XP, Server 2003, Vista or 7 to run. Installing Windows Essentials Media Codec PackDownload the latest version of the Windows Essentials Media Codec Pack. If you don’t want to install the Bing Toolbar and change your homepage and default search engine to Bing, select Custom Installation and clear the check marks. Otherwise, select Quick Installation. Click Next. If you’re an advanced user, select which components to install. If you’re not familiar with the codecs listed, just click Next twice. Run DirectX Setup if prompted, then click Finish. When the updates have completed, you can start using the codecs to use audio and video files.
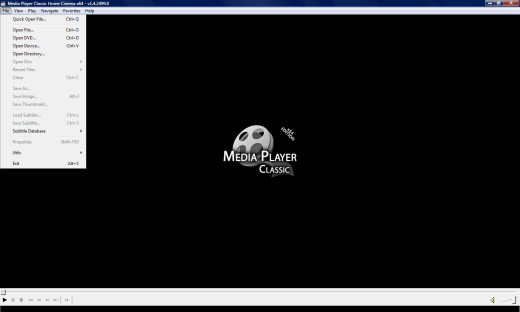
Using Media Player ClassicClick on the Media Player Classic shortcut on your desktop. If you don’t have a shortcut for Media Player Classic, Click the Start button, then click All Programs and Essentials Codec Pack, then right click Media Player Classic and select Send to and Desktop (Create Shortcut.) Through the file menu, you can access audio and video files, both online and on your computer, as well as your DVD player. There are simple media playback buttons at the bottom of the screen. You can view videos in full screen mode by clicking View and Full Screen.
Troubleshooting Windows Essentials Media Codec PackIf you experience problems with Windows Essentials Codecs, it can be hard to find help. Your best bet is to uninstall the codec pack and install a different version. There are several different versions available on different download websites, such as CNET’s Download.com. If the problem persists, check out online forums such as Microsoft Answers or CNET’s forums for help. For more tips, read CodecInstaller – Find and download audio and video codecs to play movies.
Related postsCopyright © 2007 Online Tech Tips. Aseem Kishore (digitalfingerprint: a59a56dce36427d83e23b501579944fcakmk1980 (74.125.94.91) ) Post from:
|

| You are subscribed to email updates from Online Tech Tips To stop receiving these emails, you may unsubscribe now. | Email delivery powered by Google |
| Google Inc., 20 West Kinzie, Chicago IL USA 60610 | |
0 commentaires:
Enregistrer un commentaire